AI Integration Quick Reference
Field Value Package @cometchat/chat-uikit-react-nativePeer deps react-native >=0.77.0, @cometchat/chat-sdk-react-nativeInit CometChatUIKit.init(UIKitSettings) — must resolve before login()Login CometChatUIKit.login({ uid }) — must resolve before rendering componentsOrder init() → login() → render. Breaking this order = blank screenAuth Key Dev/testing only. Use Auth Token in production Calling Optional. Install @cometchat/calls-sdk-react-native to enable Other frameworks Expo
This guide walks you through adding CometChat to a React Native CLI app. By the end you’ll have a working chat UI.
Prerequisites You need three things from the CometChat Dashboard :
Credential Where to find it App ID Dashboard → Your App → Credentials Auth Key Dashboard → Your App → Credentials Region Dashboard → Your App → Credentials (e.g. us, eu, in)
You also need:
Node.js (v16+) and npm/yarn installed
React Native development environment set up (React Native CLI Quickstart )
Xcode (for iOS) and Android Studio (for Android)
Auth Key is for development only. In production, generate Auth Tokens server-side via the REST API and use loginWithAuthToken() Step 1 — Create a React Native Project npx @react-native-community/cli init ChatApp cd ChatApp
The CometChat React Native UI Kit is officially built and tested with React Native version 0.77.0 and above. While it may work with older versions, they are not officially supported.
Step 2 — Install the UI Kit npm install @cometchat/chat-uikit-react-native
This installs the UI Kit. You also need to install the SDK and peer dependencies:
npm install @cometchat/chat-sdk-react-native
npm install @react-native-community/datetimepicker
npm install @react-native-clipboard/clipboard
npm install react-native-svg
npm install react-native-video
npm install dayjs
npm install @react-native-async-storage/async-storage
npm install react-native-gesture-handler
npm install react-native-localize
npm install react-native-safe-area-context
Android: Add Local Maven Repository for Async Storage Android only: @react-native-async-storage/async-storage v3 ships a local Maven artifact. Add this to your android/build.gradle or the Android build will fail.
allprojects {
    repositories {
        google()
        mavenCentral()
        maven {
            url = uri(project(":react-native-async-storage_async-storage").file("local_repo"))
        }
    }
}
Add Permissions for Android Open android/app/src/main/AndroidManifest.xml and add:
< uses-permission android:name = "android.permission.WRITE_EXTERNAL_STORAGE" /> < uses-permission android:name = "android.permission.READ_EXTERNAL_STORAGE" /> < uses-permission android:name = "android.permission.VIBRATE" /> < uses-permission android:name = "android.permission.INTERNET" /> < uses-permission android:name = "android.permission.CAMERA" /> < uses-permission android:name = "android.permission.RECORD_AUDIO" />
Install iOS Pods cd ios && pod install && cd ..
Add this import at the very top of your entry file (before any other imports):
import 'react-native-gesture-handler' ;
This import must be at the top of your entry file. Failing to do so may cause crashes in production.
Optional: Install Calling SDK To enable voice/video calling:
npm install @cometchat/calls-sdk-react-native
npm install @react-native-community/netinfo
npm install react-native-background-timer
npm install react-native-callstats
npm install react-native-webrtc
Add iOS permissions to ios/ChatApp/Info.plist:
< key > NSCameraUsageDescription </ key > < string > Camera access for video calls </ string > < key > NSMicrophoneUsageDescription </ key > < string > Microphone access for voice/video calls </ string >
Step 3 — Initialize CometChat init() must resolve before you call login(). If you call login() before init completes, it will fail silently.
import { CometChatUIKit , UIKitSettings } from "@cometchat/chat-uikit-react-native" ; import { CometChat } from "@cometchat/chat-sdk-react-native" ; const COMETCHAT_CONSTANTS = { APP_ID: "APP_ID" , // Replace with your App ID REGION: "REGION" , // Replace with your Region AUTH_KEY: "AUTH_KEY" , // Replace with your Auth Key (dev only) }; const uiKitSettings : UIKitSettings = { appId: COMETCHAT_CONSTANTS . APP_ID , authKey: COMETCHAT_CONSTANTS . AUTH_KEY , region: COMETCHAT_CONSTANTS . REGION , subscriptionType: CometChat . AppSettings . SUBSCRIPTION_TYPE_ALL_USERS as UIKitSettings [ "subscriptionType" ], }; CometChatUIKit . init ( uiKitSettings ) . then (() => { console . log ( "CometChat UI Kit initialized successfully." ); }) . catch (( error ) => { console . error ( "CometChat UI Kit initialization failed:" , error ); });
import { CometChatUIKit } from "@cometchat/chat-uikit-react-native" ; import { CometChat } from "@cometchat/chat-sdk-react-native" ; const COMETCHAT_CONSTANTS = { APP_ID: "APP_ID" , // Replace with your App ID REGION: "REGION" , // Replace with your Region AUTH_KEY: "AUTH_KEY" , // Replace with your Auth Key (dev only) }; const uiKitSettings = { appId: COMETCHAT_CONSTANTS . APP_ID , authKey: COMETCHAT_CONSTANTS . AUTH_KEY , region: COMETCHAT_CONSTANTS . REGION , subscriptionType: CometChat . AppSettings . SUBSCRIPTION_TYPE_ALL_USERS , }; CometChatUIKit . init ( uiKitSettings ) . then (() => { console . log ( "CometChat UI Kit initialized successfully." ); }) . catch (( error ) => { console . error ( "CometChat UI Kit initialization failed:" , error ); });
Step 4 — Login After init resolves, log the user in. For development, use one of the pre-created test UIDs:
cometchat-uid-1 · cometchat-uid-2 · cometchat-uid-3 · cometchat-uid-4 · cometchat-uid-5const UID = "cometchat-uid-1" ; // Replace with your actual UID CometChatUIKit . login ({ uid: UID }) . then (( user : CometChat . User ) => { console . log ( "Login Successful:" , user . getName ()); }) . catch (( error ) => { console . error ( "Login failed:" , error ); });
const UID = "cometchat-uid-1" ; // Replace with your actual UID CometChatUIKit . login ({ uid: UID }) . then (( user ) => { console . log ( "Login Successful:" , user . getName ()); }) . catch (( error ) => { console . error ( "Login failed:" , error ); });
For production, use loginWithAuthToken() Step 5 — Choose a Chat Experience Integrate a conversation view that suits your app’s UX. Each option below includes a step-by-step guide.
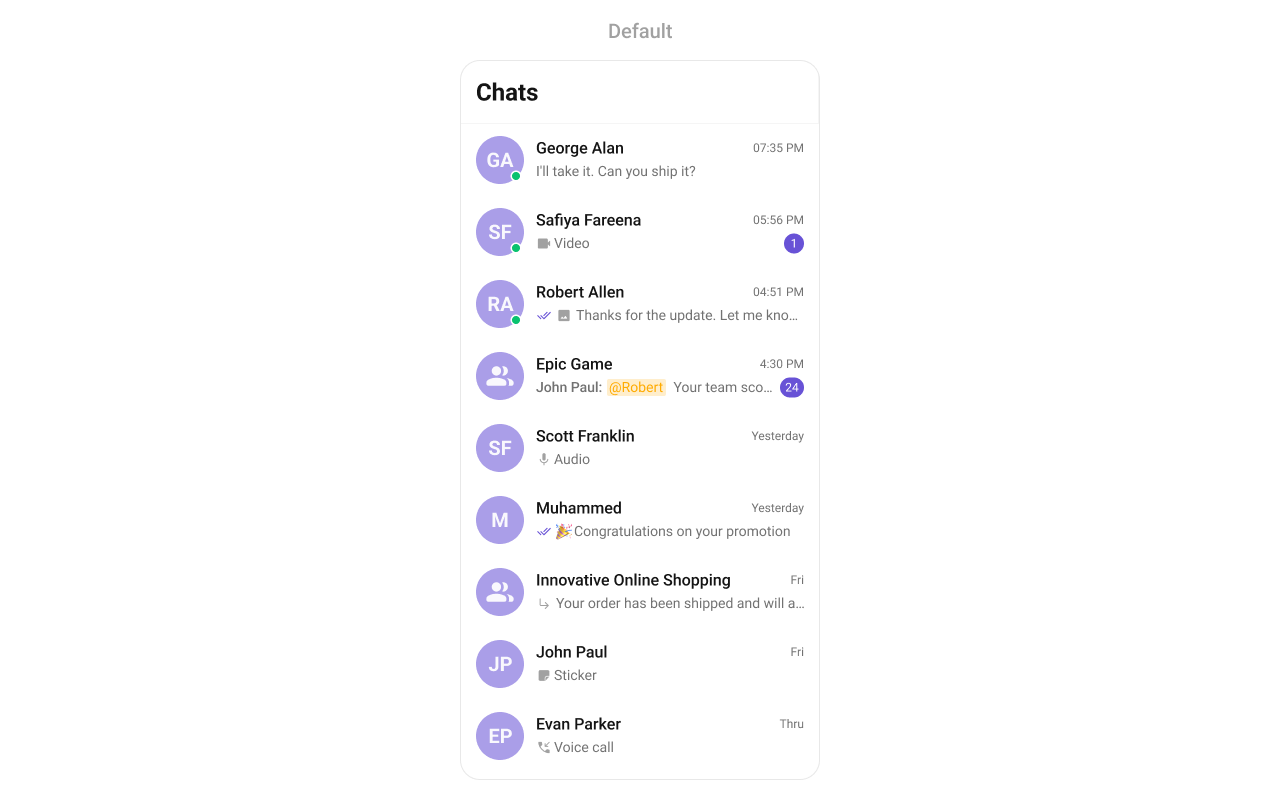
Conversation List + Message View List of conversations on one screen, tap to open messages. Standard mobile chat pattern.
Conversation list with real-time updates
Tap-to-view — tapping a conversation opens the message view
Switch between one-to-one and group conversations
Back navigation to return to the list
Build Conversation List + Message View Step-by-step guide to build this layout
One-to-One / Group Chat Single chat window — no conversation list. Good for support chat, embedded widgets, or focused messaging.
Dedicated chat window for one-on-one or group messaging
No conversation list — users go directly into the chat
Full-screen experience
Ideal for support chat or community messaging
Build One-to-One / Group Chat Step-by-step guide to build this layout
Tab-Based Chat Tabbed navigation — Chats, Users, Groups, Calls in separate tabs. Good for full-featured apps.
Tab navigation between Chats, Users, Groups, and Calls
Full-screen messaging within each tab
Uses React Navigation bottom tabs
Scales well for adding future features
Build Tab-Based Chat Step-by-step guide to build this layout
Build Your Own Chat Experience Need full control over the UI? Use individual components, customize themes, and wire up your own layouts.
Sample App — Working reference app to compare againstComponents — All prebuilt UI elements with props and customization optionsCore Features — Messaging, real-time updates, and other capabilitiesTheming — Colors, fonts, dark mode, and custom styling
Next Steps