AI Integration Quick Reference
Field Value Package @cometchat/chat-uikit-react-nativePeer deps expo SDK 50+, @cometchat/chat-sdk-react-nativeInit CometChatUIKit.init(UIKitSettings) — must resolve before login()Login CometChatUIKit.login({ uid }) — must resolve before rendering componentsOrder init() → login() → render. Breaking this order = blank screenAuth Key Dev/testing only. Use Auth Token in production Expo Go Not supported — use development builds Other frameworks React Native CLI
This guide walks you through adding CometChat to an Expo app using development builds. By the end you’ll have a working chat UI.
Expo Go is not supported. The CometChat UI Kit requires custom native modules, so you must use development builds . Prerequisites You need three things from the CometChat Dashboard :
Credential Where to find it App ID Dashboard → Your App → Credentials Auth Key Dashboard → Your App → Credentials Region Dashboard → Your App → Credentials (e.g. us, eu, in)
You also need:
Node.js (v16+) and npm/yarn installed
Expo CLI installed (npm install -g expo-cli)
Xcode (for iOS) and Android Studio (for Android) for development builds
Auth Key is for development only. In production, generate Auth Tokens server-side via the REST API and use loginWithAuthToken() Step 1 — Create an Expo Project npx create-expo-app ChatApp cd ChatApp
Step 2 — Install the UI Kit npm install @cometchat/chat-uikit-react-native
Install the SDK and peer dependencies:
npm install @cometchat/chat-sdk-react-native
npm install @react-native-community/datetimepicker
npm install @react-native-clipboard/clipboard
npm install react-native-svg
npm install react-native-video
npm install dayjs
npm install @react-native-async-storage/async-storage
npm install react-native-gesture-handler
npm install react-native-localize
npm install react-native-safe-area-context
Add required permissions for camera and microphone:
{ "expo" : { "ios" : { "infoPlist" : { "NSCameraUsageDescription" : "Camera access for video calls" , "NSMicrophoneUsageDescription" : "Microphone access for voice/video calls" } }, "android" : { "permissions" : [ "android.permission.INTERNET" , "android.permission.CAMERA" , "android.permission.MODIFY_AUDIO_SETTINGS" , "android.permission.RECORD_AUDIO" , "android.permission.ACCESS_NETWORK_STATE" , "android.permission.WRITE_EXTERNAL_STORAGE" , "android.permission.READ_EXTERNAL_STORAGE" , "android.permission.VIBRATE" ] } } }
Optional: Install Calling SDK To enable voice/video calling:
npm install @cometchat/calls-sdk-react-native
npm install @react-native-community/netinfo
npm install react-native-background-timer
npm install react-native-callstats
npm install react-native-webrtc
Step 3 — Initialize CometChat init() must resolve before you call login(). If you call login() before init completes, it will fail silently.
import { CometChatUIKit , UIKitSettings } from "@cometchat/chat-uikit-react-native" ; import { CometChat } from "@cometchat/chat-sdk-react-native" ; const COMETCHAT_CONSTANTS = { APP_ID: "APP_ID" , // Replace with your App ID REGION: "REGION" , // Replace with your Region AUTH_KEY: "AUTH_KEY" , // Replace with your Auth Key (dev only) }; const uiKitSettings : UIKitSettings = { appId: COMETCHAT_CONSTANTS . APP_ID , authKey: COMETCHAT_CONSTANTS . AUTH_KEY , region: COMETCHAT_CONSTANTS . REGION , subscriptionType: CometChat . AppSettings . SUBSCRIPTION_TYPE_ALL_USERS as UIKitSettings [ "subscriptionType" ], }; CometChatUIKit . init ( uiKitSettings ) . then (() => { console . log ( "CometChat UI Kit initialized successfully." ); }) . catch (( error ) => { console . error ( "CometChat UI Kit initialization failed:" , error ); });
import { CometChatUIKit } from "@cometchat/chat-uikit-react-native" ; import { CometChat } from "@cometchat/chat-sdk-react-native" ; const COMETCHAT_CONSTANTS = { APP_ID: "APP_ID" , // Replace with your App ID REGION: "REGION" , // Replace with your Region AUTH_KEY: "AUTH_KEY" , // Replace with your Auth Key (dev only) }; const uiKitSettings = { appId: COMETCHAT_CONSTANTS . APP_ID , authKey: COMETCHAT_CONSTANTS . AUTH_KEY , region: COMETCHAT_CONSTANTS . REGION , subscriptionType: CometChat . AppSettings . SUBSCRIPTION_TYPE_ALL_USERS , }; CometChatUIKit . init ( uiKitSettings ) . then (() => { console . log ( "CometChat UI Kit initialized successfully." ); }) . catch (( error ) => { console . error ( "CometChat UI Kit initialization failed:" , error ); });
Step 4 — Login After init resolves, log the user in. For development, use one of the pre-created test UIDs:
cometchat-uid-1 · cometchat-uid-2 · cometchat-uid-3 · cometchat-uid-4 · cometchat-uid-5const UID = "cometchat-uid-1" ; // Replace with your actual UID CometChatUIKit . login ({ uid: UID }) . then (( user : CometChat . User ) => { console . log ( "Login Successful:" , user . getName ()); }) . catch (( error ) => { console . error ( "Login failed:" , error ); });
const UID = "cometchat-uid-1" ; // Replace with your actual UID CometChatUIKit . login ({ uid: UID }) . then (( user ) => { console . log ( "Login Successful:" , user . getName ()); }) . catch (( error ) => { console . error ( "Login failed:" , error ); });
For production, use loginWithAuthToken() Step 5 — Choose a Chat Experience Integrate a conversation view that suits your app’s UX. Each option below includes a step-by-step guide.
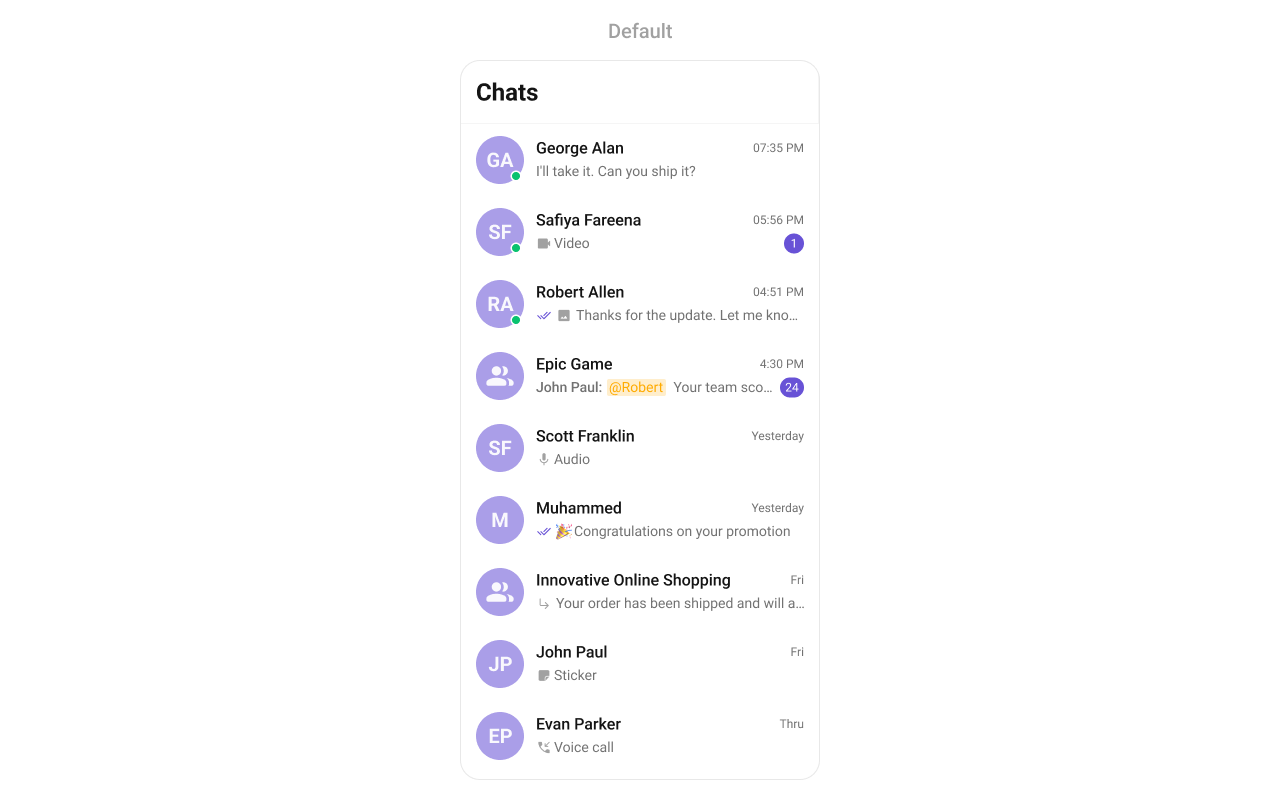
Conversation List + Message View List of conversations on one screen, tap to open messages. Standard mobile chat pattern.
Build Conversation List + Message View Step-by-step guide to build this layout
One-to-One / Group Chat Single chat window — no conversation list. Good for support chat or focused messaging.
Build One-to-One / Group Chat Step-by-step guide to build this layout
Tab-Based Chat Tabbed navigation — Chats, Users, Groups, Calls in separate tabs. Good for full-featured apps.
Build Tab-Based Chat Step-by-step guide to build this layout
Running Development Builds Since Expo Go is not supported, you need to create development builds:
For more details, see the Expo local app development guide .
Reference Implementation For a complete working example, check out the SampleAppExpo repository.
Next Steps